5 STEPS TO MAKE A CHOCOLATE BON-BON

5 Steps to Make a Chocolate Bon-Bon ·
A decadent chocolate bon-bon is often a delicacy saved for a special occasion. But there is no reason not to indulge more often, a bon-bon can be handcrafted at home with some help from the pros. Delight in the smooth chocolate goodness anytime you crave it with these five simple steps.
- Color: First, we use colored cocoa butter to splatter, air brush, or hand paint our molds. We try to reflect the flavor of the bon-bon to the color and design that we create on the mold ·
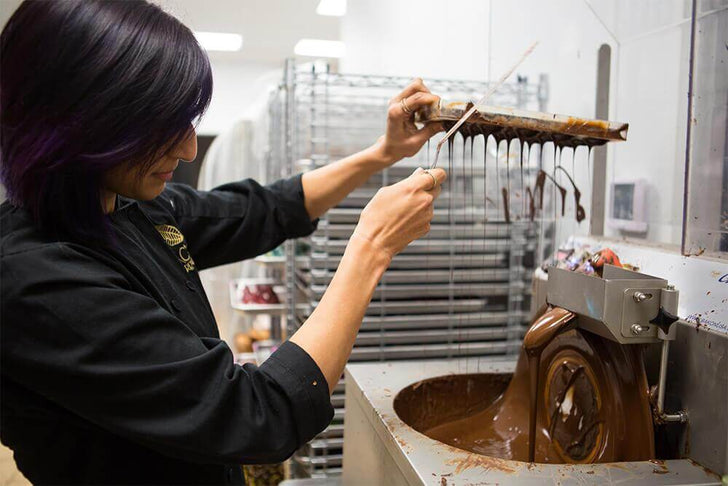
- Shell: Then we pour tempered chocolate in the mold, and pour it right back out, so that there is chocolate adhering to the cavities of the mold. We want to create a thin, crisp shell inside of the mold
- Ganache: Now we get to the fun part where all the infusions occur. We create an emulsion between chocolate and a liquid, most commonly heavy cream. We will steep our freshly ground spices in the cream, and pour it over the chocolate to make a creamy “filling” for our bon-bon
- Pipe: After we’ve created our “filling”, or ganache, for the chocolate bon-bon, we pipe them into the mold. We pride in our thin shells, so after you bite through the shell, the ganache fills your mouth and melts smoothly away.
- Cap:The last step is to add another layer of chocolate to the bon-bon over the ganache, so it is encapsulated in the shell.After we cap off the molds, we stick them in the freezer for ten minutes until the chocolate release from the mold.


